1) Go to https://portal.azure.com/#home
and login to your Microsoft account.
then go to Azure Active Directory.
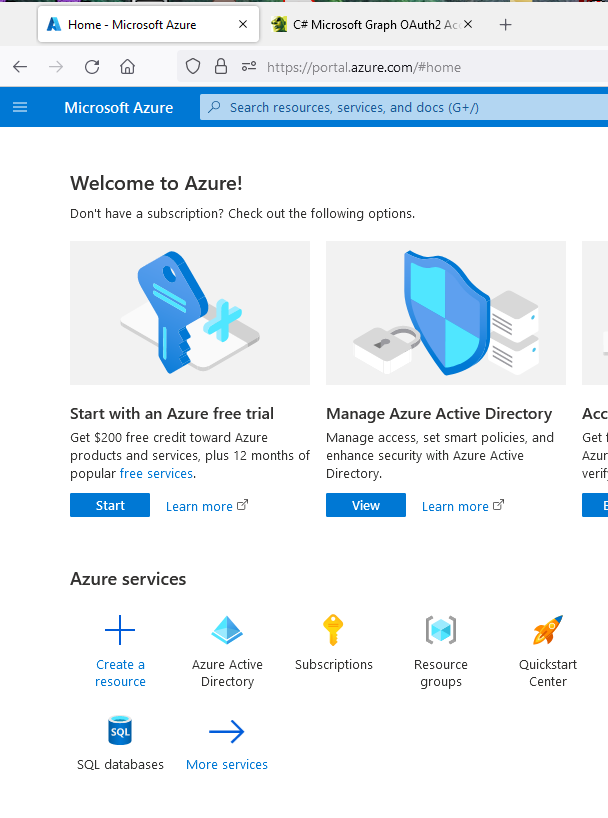
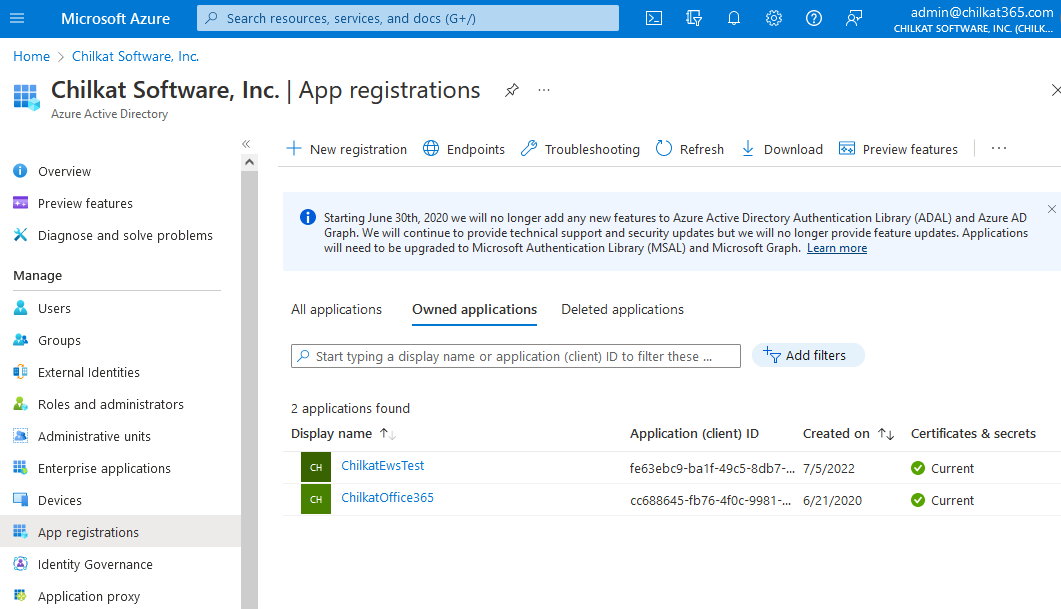
2) Click On App Registrations
* Copy your Tenant ID, you’ll need it later.

3) Click on “+ New registration”
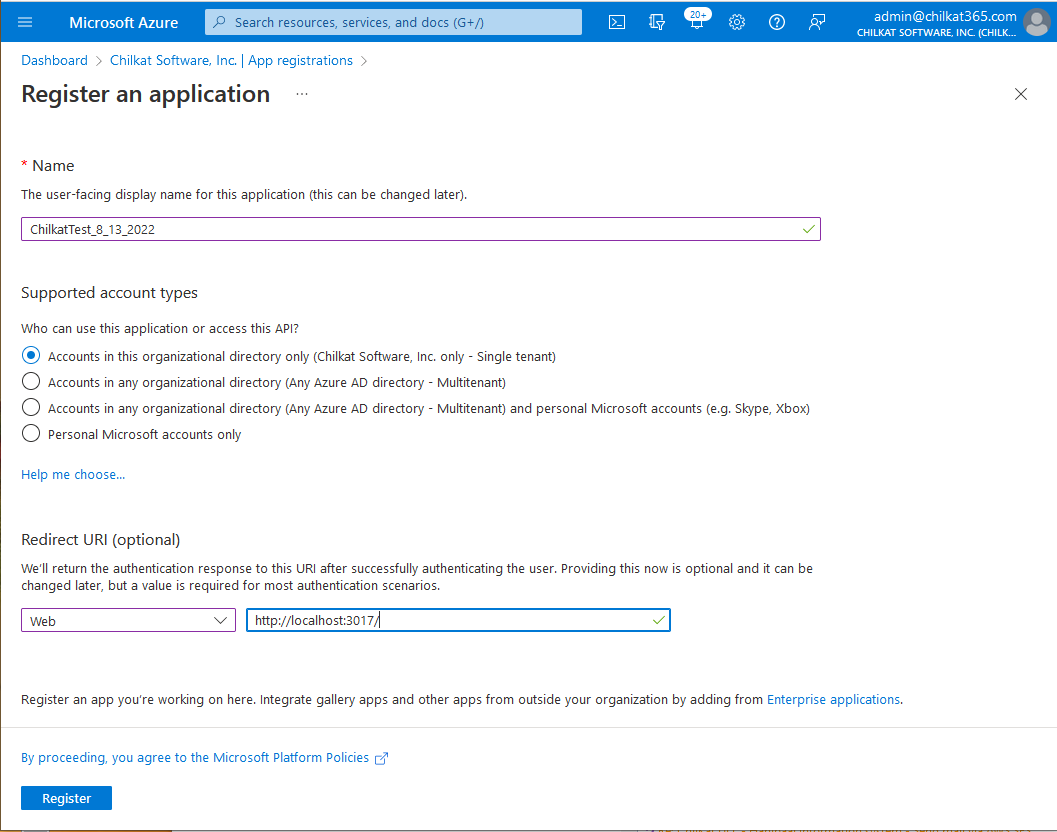
4) Name your App and Click Register.
Give it a name.
For the Redirect URI, select “Web” and then use “http://localhost:3017/”.
Your application may be a desktop app or script, but you’ll still select “Web” because when fetching the initial OAuth2 access token (using Chilkat), your application will receive an HTTP Redirect request from the local browser. Make sure to enter “http://localhost:3017/” exactly as shown. Don’t use “https://”. Use “http://”. The Redirect request will not traverse the network — it is a localhost request from the browser to your app. (I realize you may not fully understand at this point.) Also, the trailing “/” in the Redirect URI is important. Don’t omit it. Also, you can change the port number of another unused port number — but your application code using Chilkat.OAuth2 will need to set the Chilkat.OAuth2.ListenPort property to the port number used here.
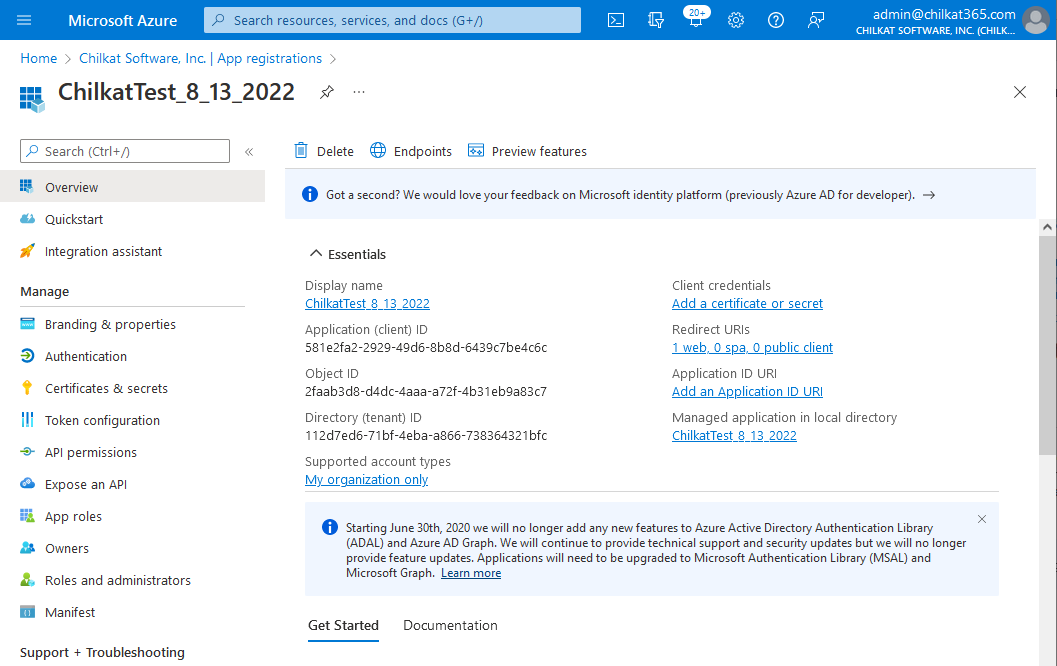
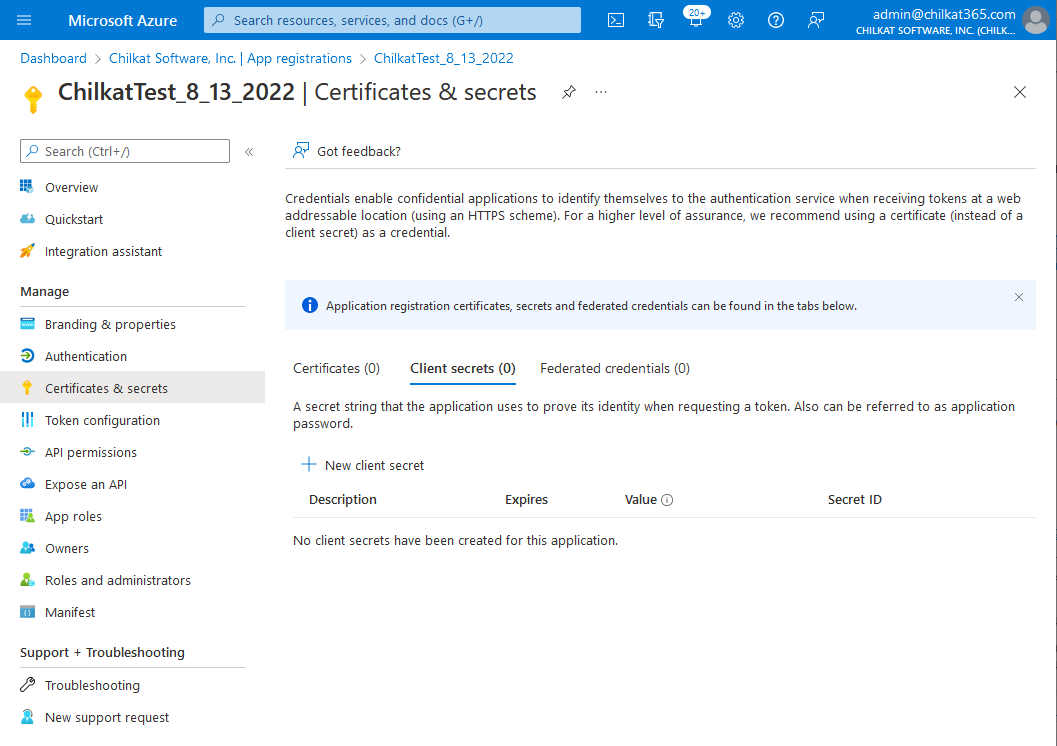
5) You created an App in Azure. Click on “Add a certificate or secret”.
* Also, copy the Application (client) ID, you’ll need it later.
6) Click on “+ New client secret”
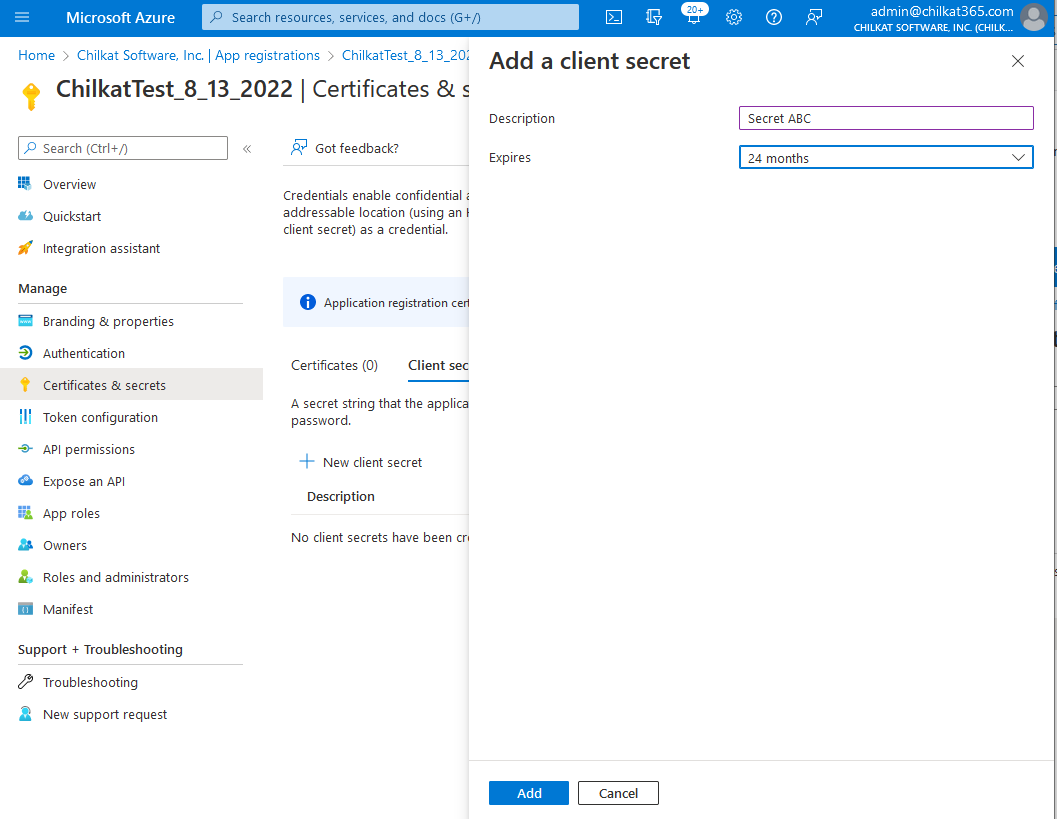
7) Give the Client Secret a Description and Expiration, then Click Add
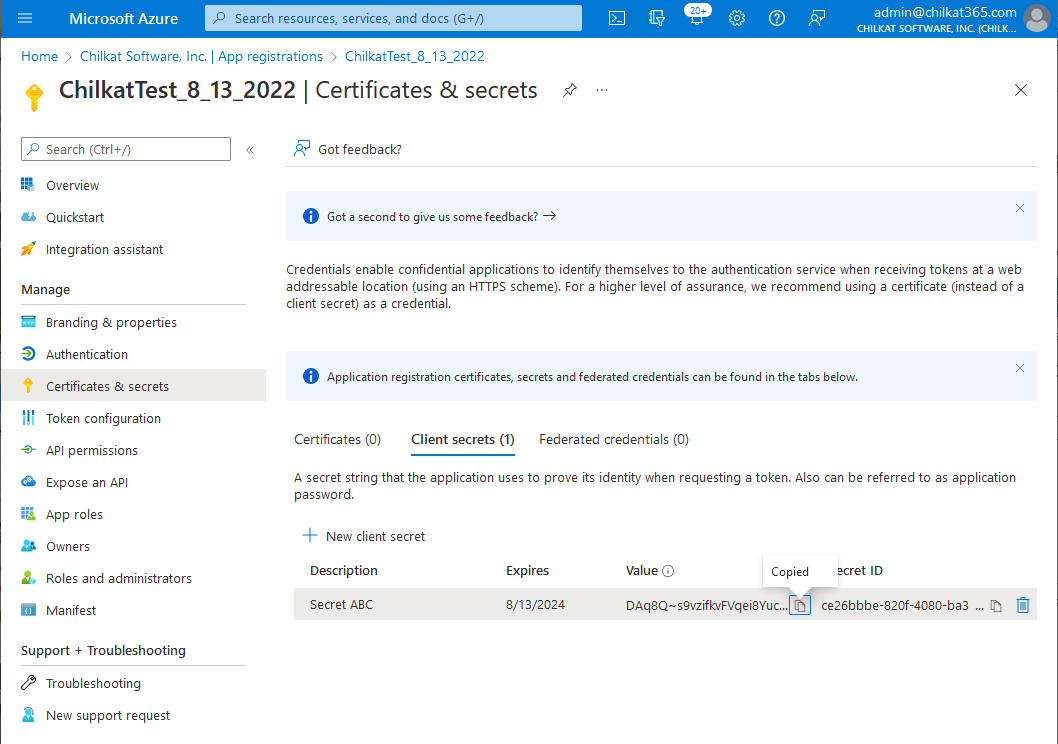
8) Copy the client secret value by clicking the  icon that is to the right of the partially shown secret.
* Save the secret along with your tenant ID and client ID. You may not be able to get the secret later.
9) Your App Registration is finished.
There are 4 pieces of information needed to obtain an access token for IMAP, POP3, or SMTP authentication:
1) Your Directory (tenant) ID
2) Your Application (client) ID
3) Your Application client secret value
4) The localhost port number used in the Redirect URI.