1) Go to https://portal.azure.com/#home and login to your Microsoft account.
Then click on Azure Active Directory
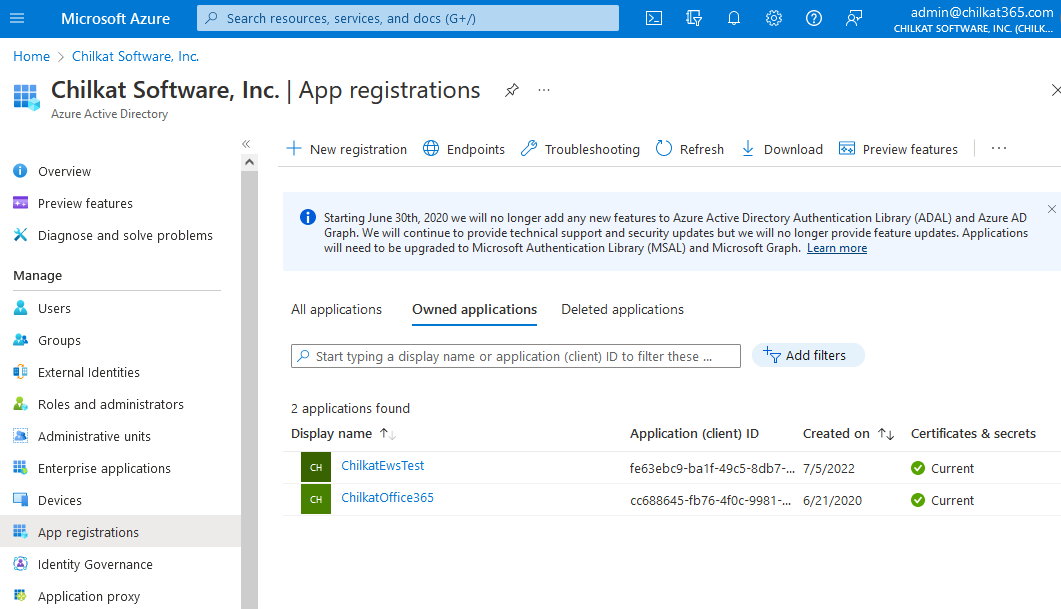
2) Click on “App registrations”
Copy your Tenant ID, you’ll need it later.

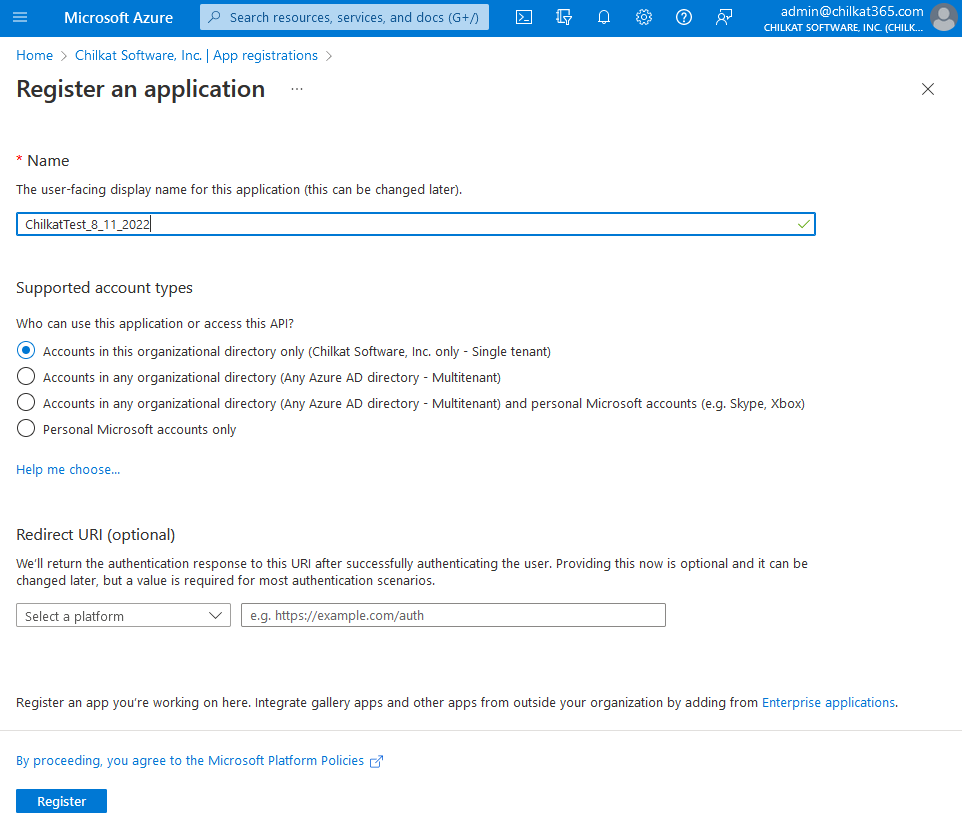
3) Click on “+ New registration”
4) Name Your App and Click Register
Give it a name (can be anything) and click Register. Given that the intended authentication is by client credentials, we don’t need a Redirect URI. Leave that blank.
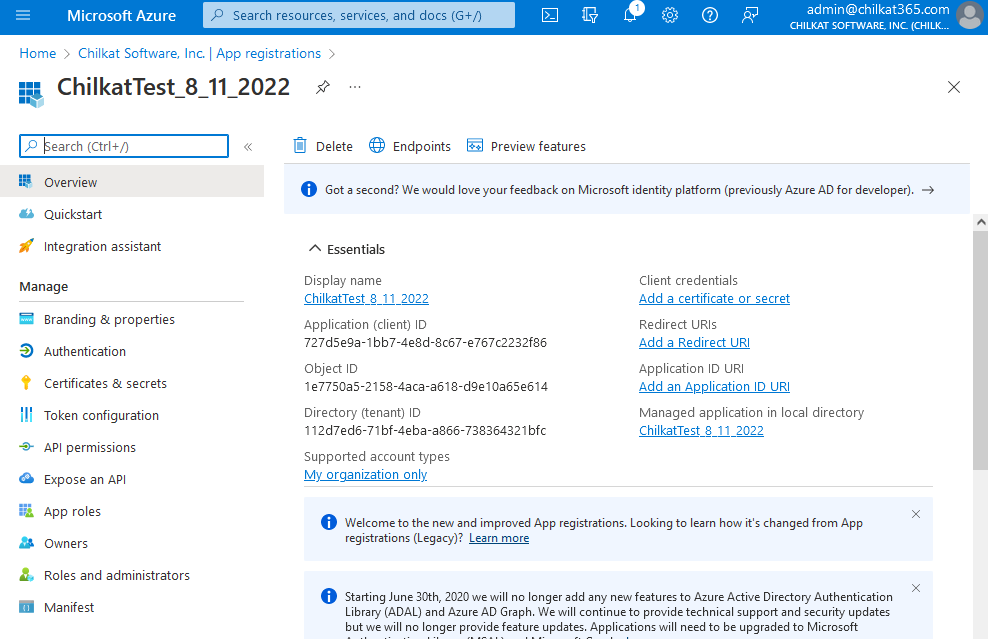
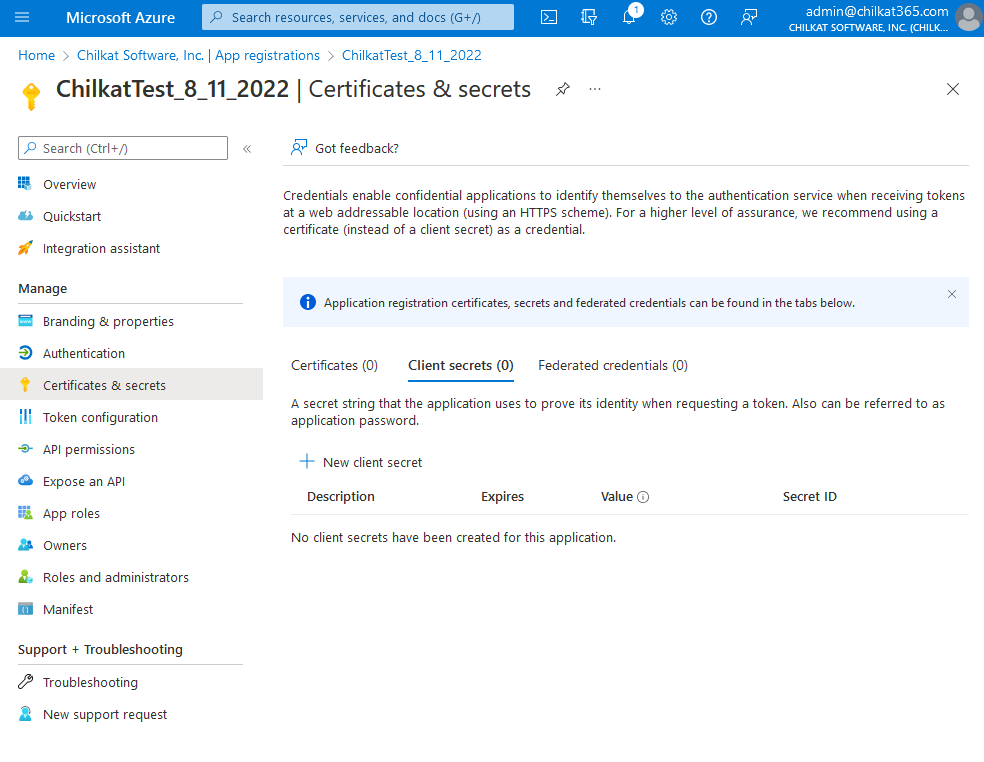
5) You created an App in Azure. Click on the link entitled “Add a certificate or secret”.
Copy the Application (client) ID, you’ll need it later.
6) Click on “+ New client secret”
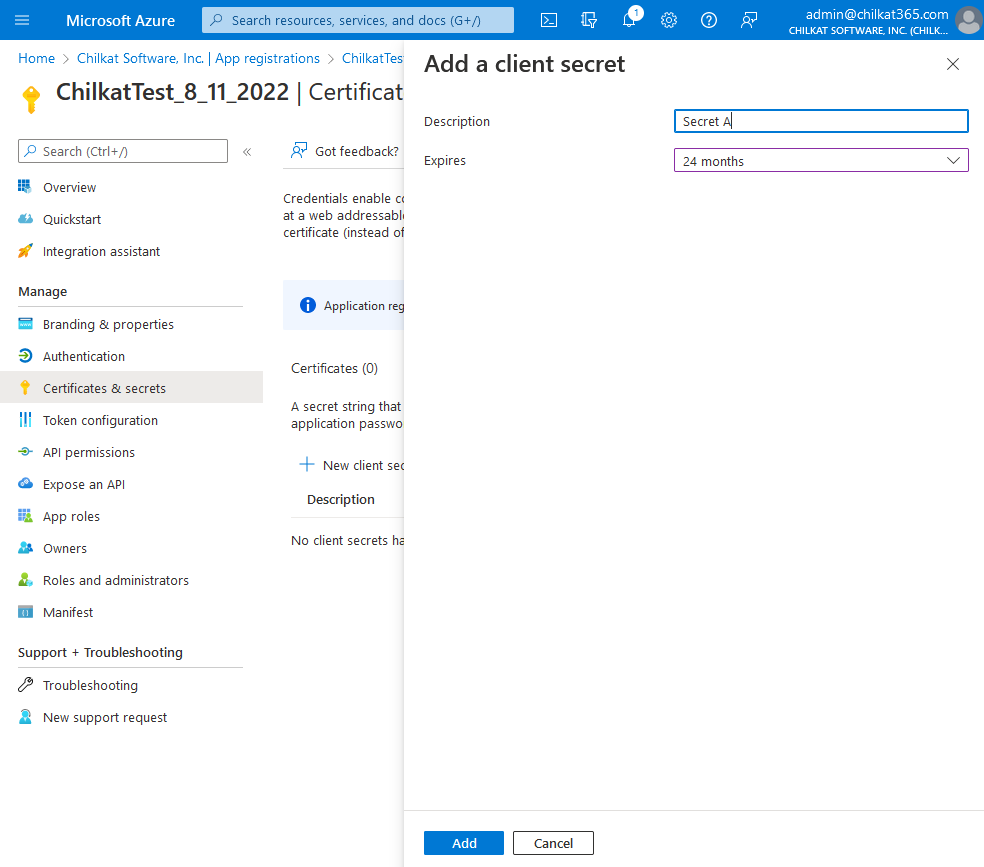
7) Give the Client Secret a Description and Expiration, Click Add
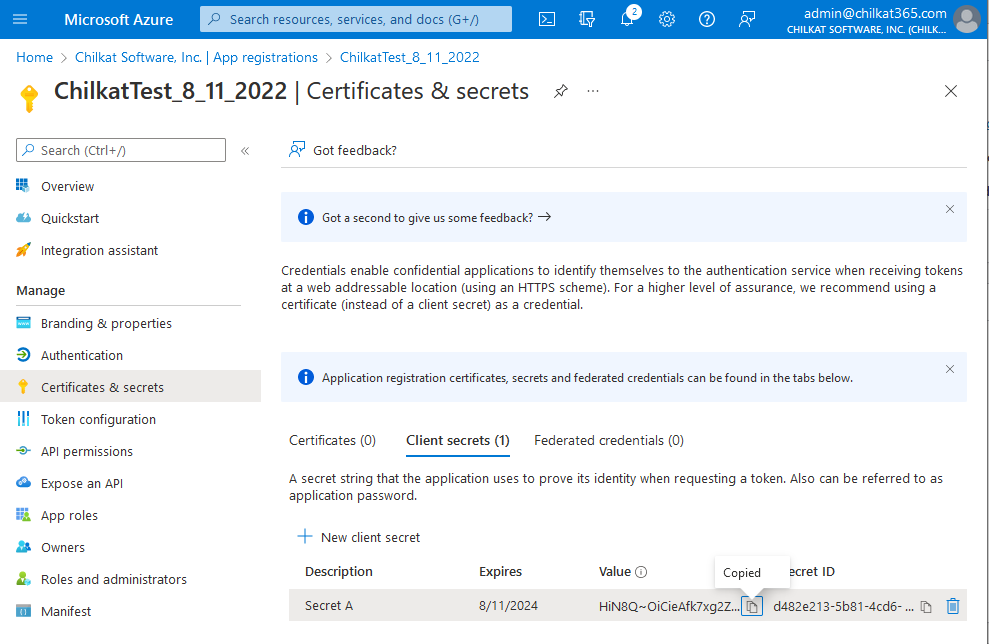
8) Copy the Secret Value and then go to API permissions.
Copy the client secret value by clicking the ![]() icon that is to the right of the partially shown secret.
icon that is to the right of the partially shown secret.
Save the secret along with your tenant ID and client ID. You may not be able to get the secret later.
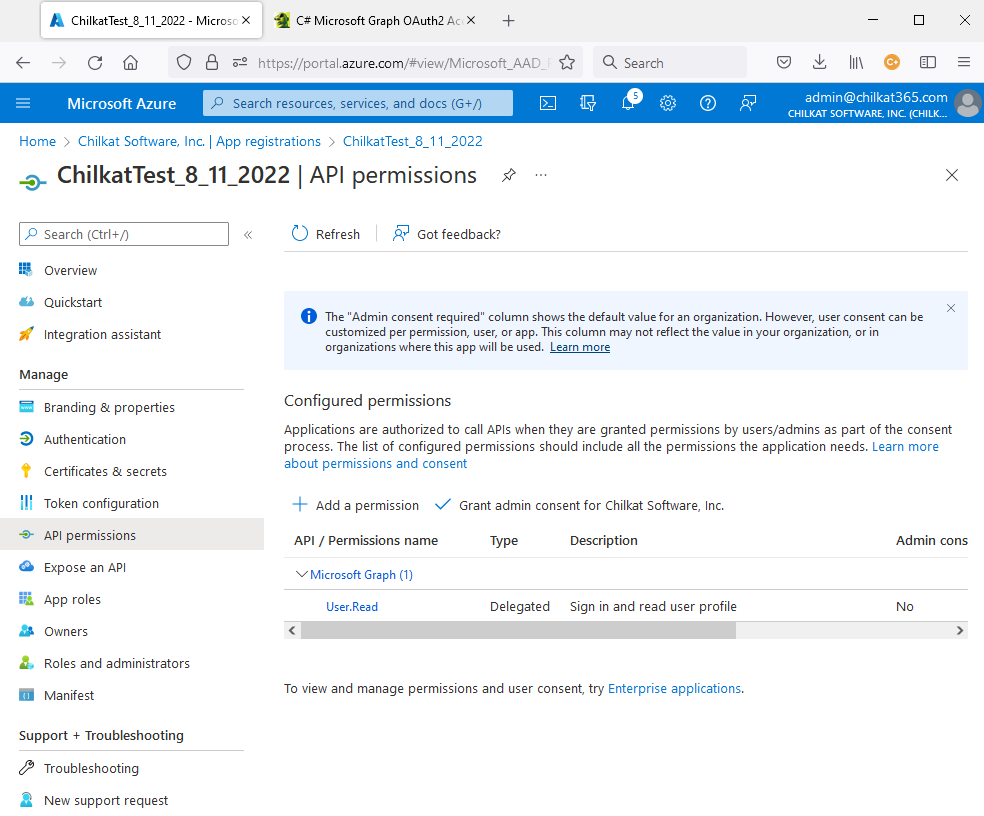
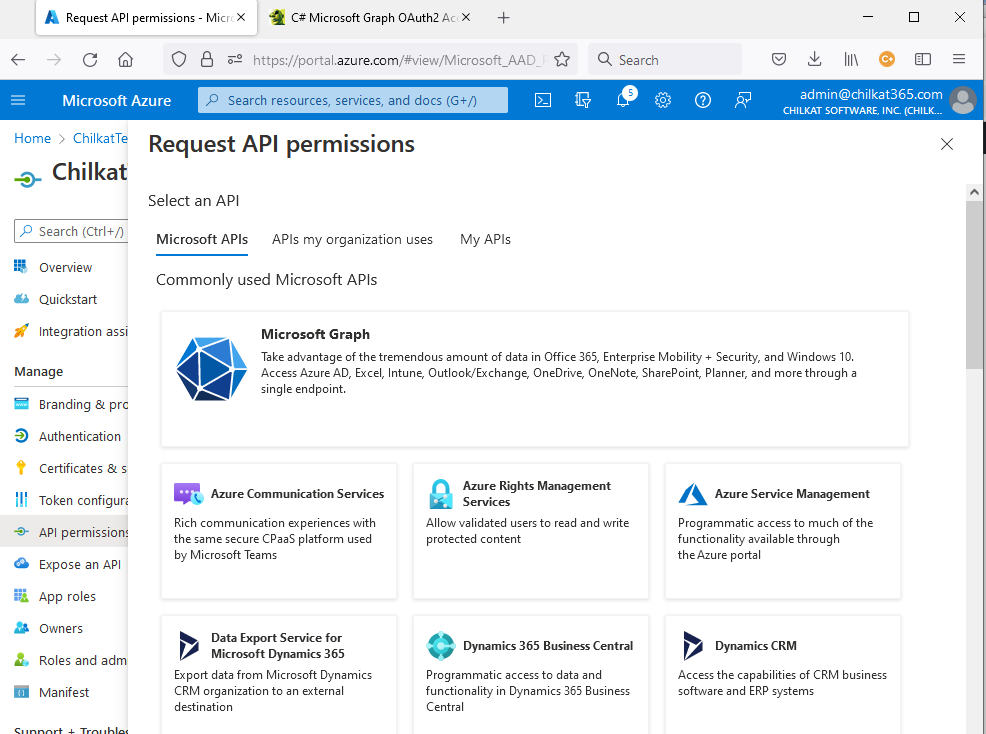
9) Click on “+ Add a permission”.
10) Click on the large “Microsoft Graph” box. It will highlight (darken) as your mouse hovers over it. Click on it.
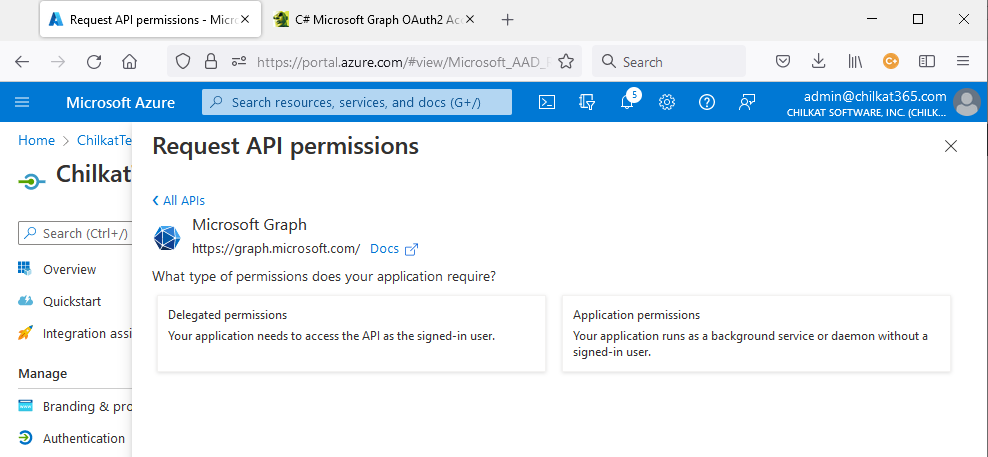
11) Click on the “Application permissions” box.
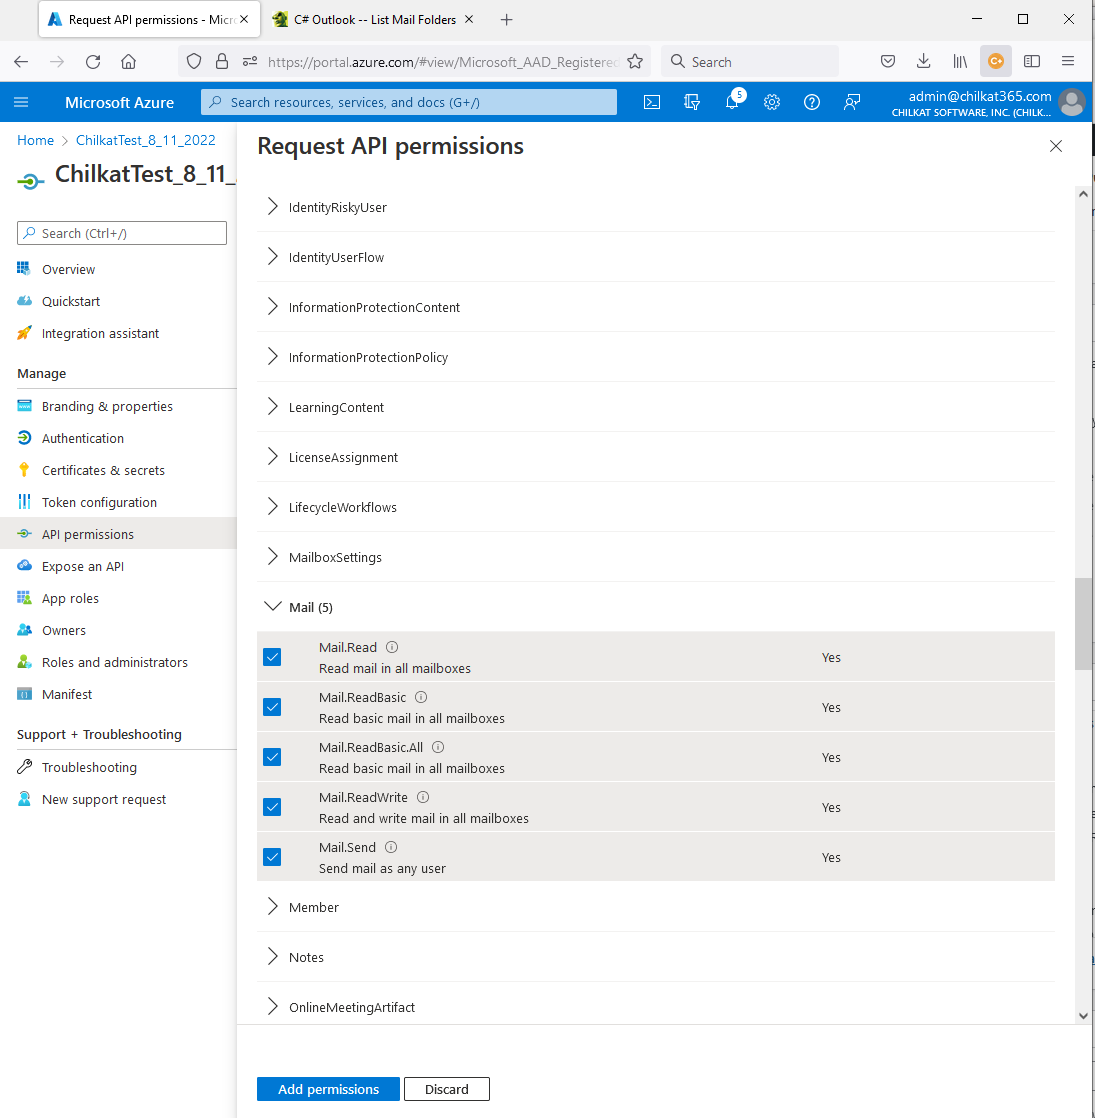
12) Scroll down, expand “Mail” and click on all permissions. Then click “Add permissions”.
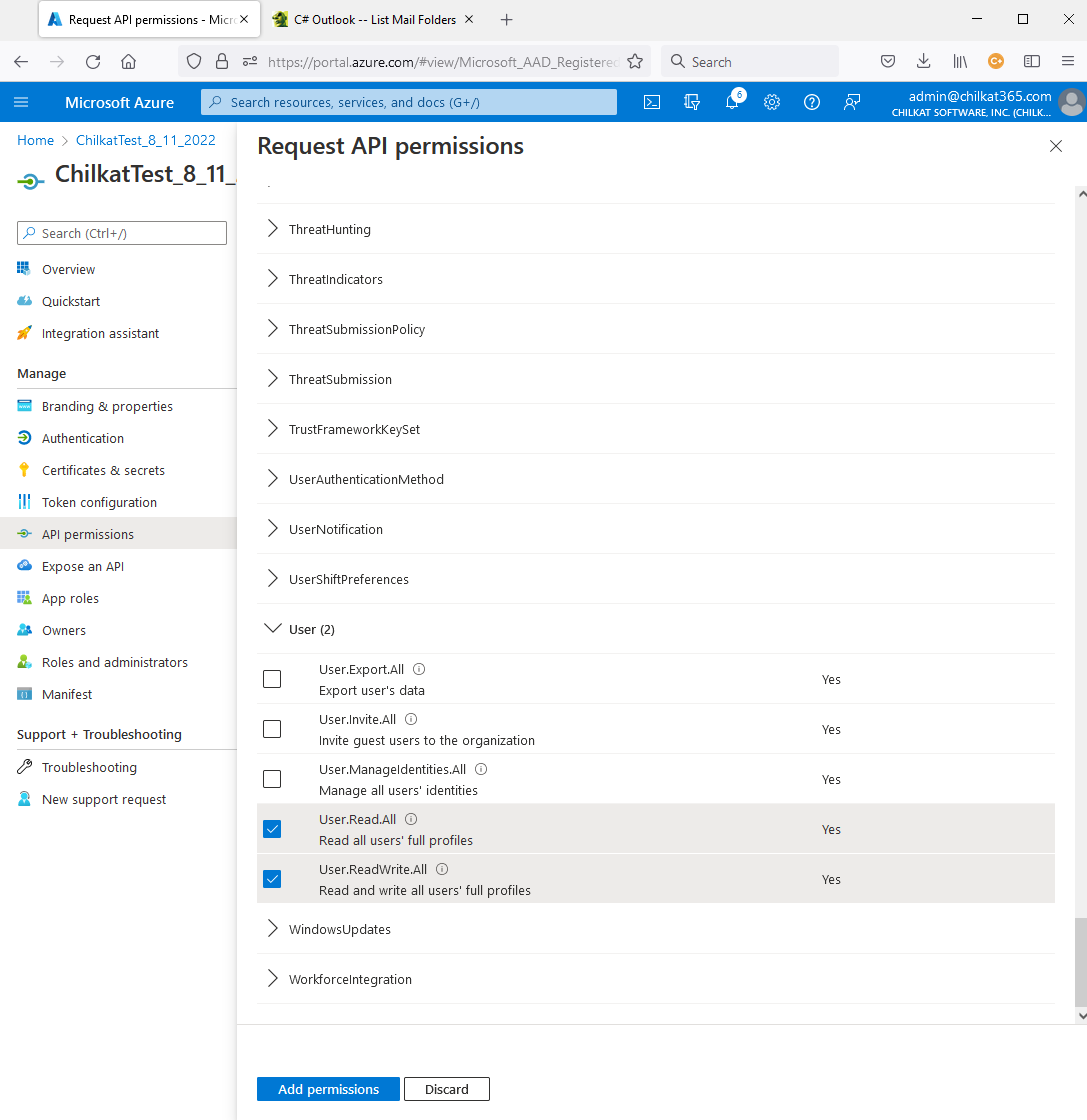
13) Also add permissions for User
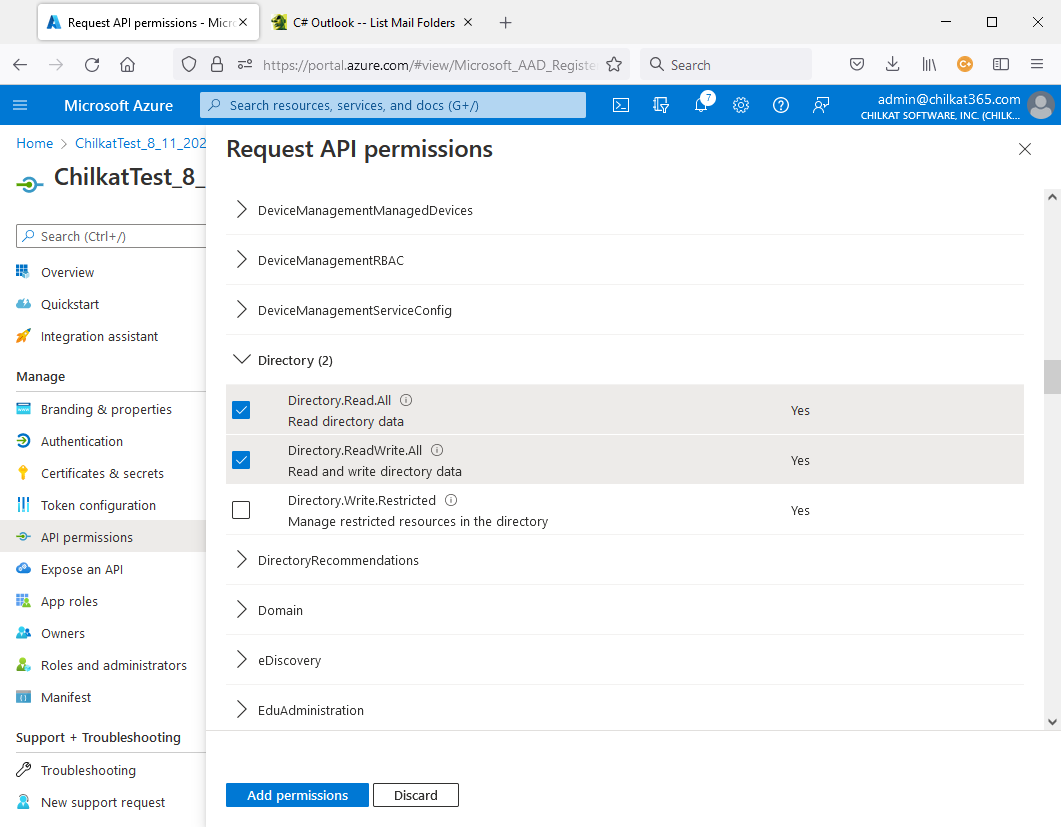
14) Also add Directory permissions…
15) Also add Files permissions

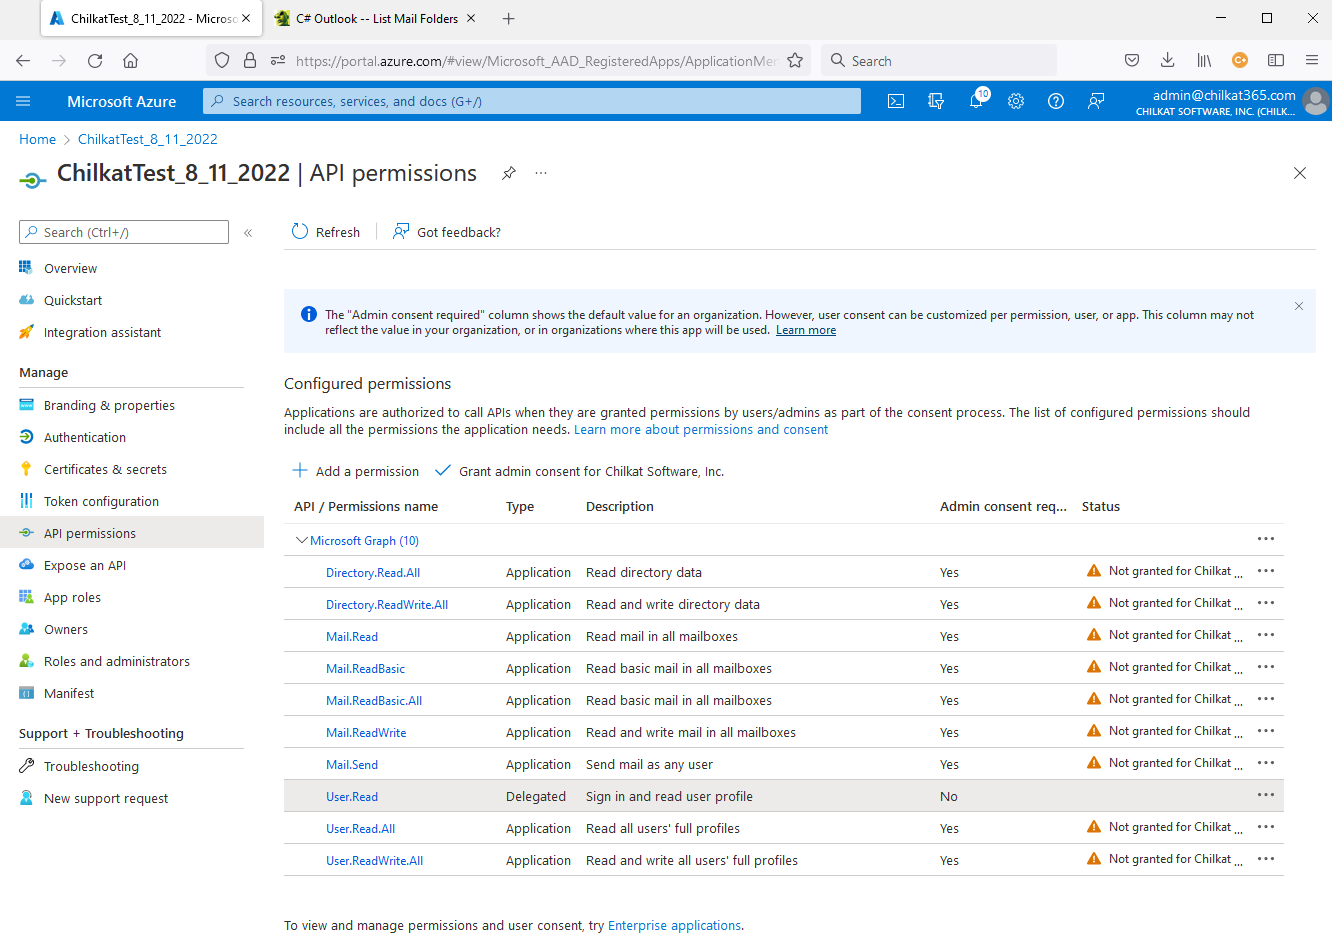
16) Go back to the API permissions screen.
Notice the statuses showing “Not granted for… “Click on “Grant admin consent for ….”
17) Click on Yes to Grant Admin Consent
