This post shows how to register an Azure Application that supports OAuth2 Client Credentials.
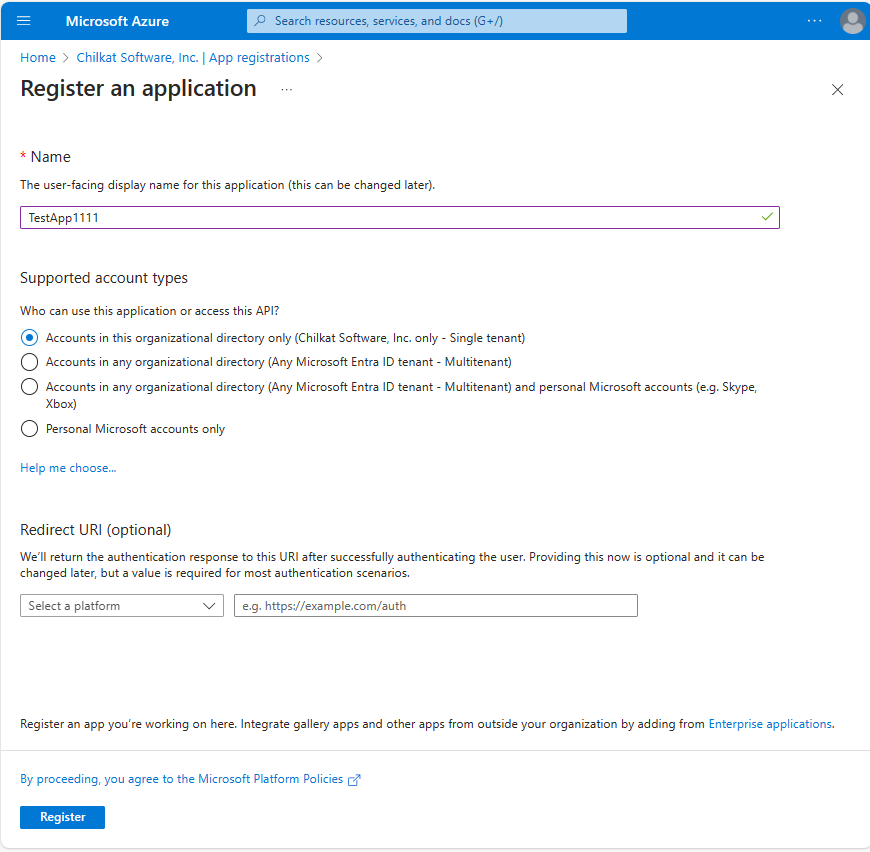
1. Register an Application
You’ll most likely choose a single-tenant application. (See explanation of Azure single-tenant vs multi-tenant applications.)
You can leave the Redirect URI blank.
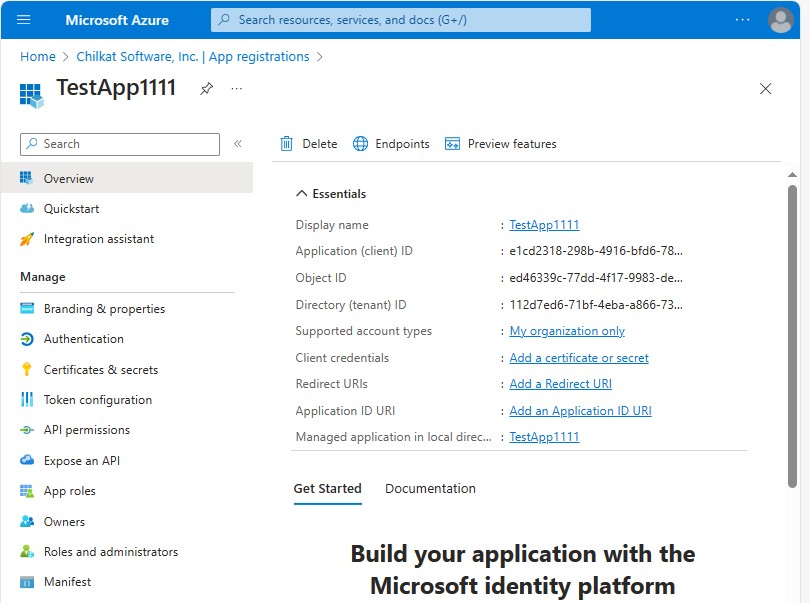
2. Note your Application (client) ID and Directory (tenant) ID
Make note of your client ID and tenant ID. It will be needed in your program.
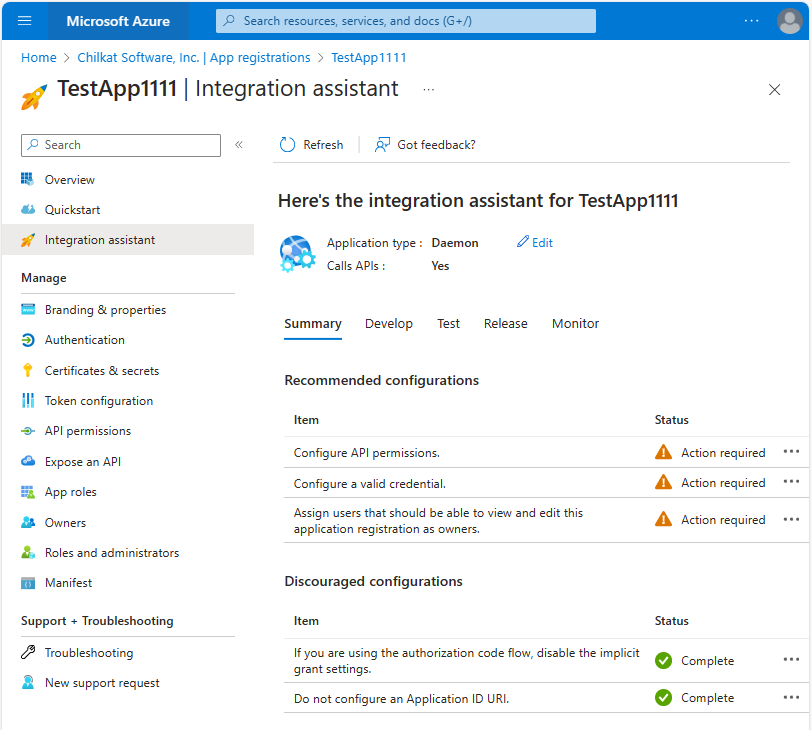
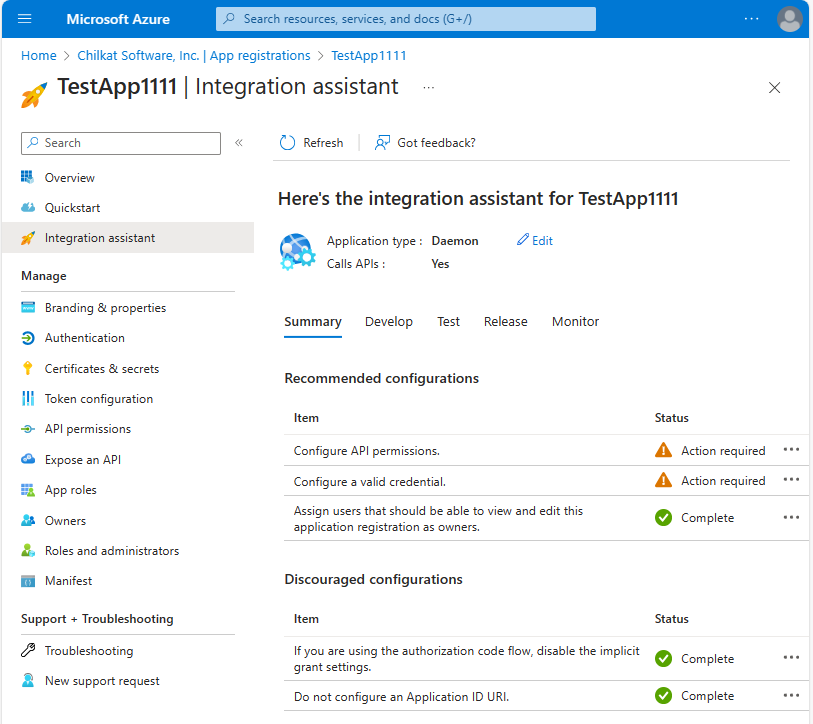
3. Have a look at the Integration Assistant
Choose “Daemon (background process or automation)”

4. See what still needs to be done.
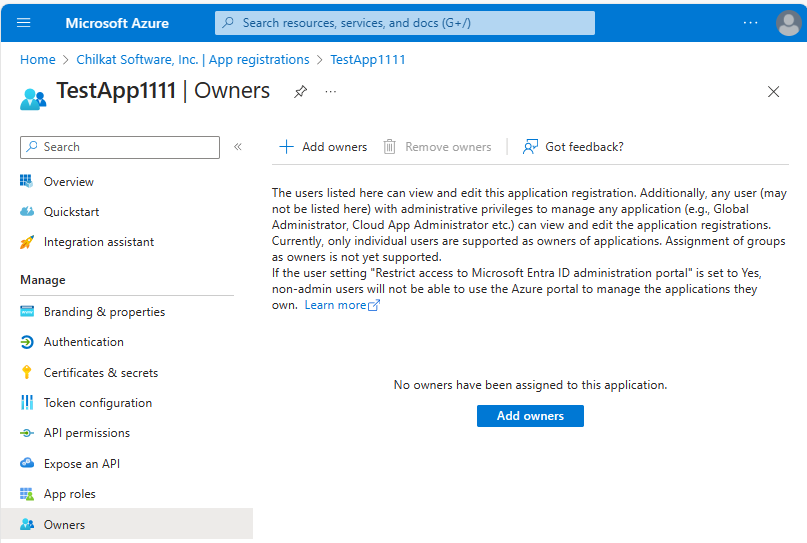
5. Assign a User as the Owner
Click on “Owners” (located in the left rail). Then click on “Add owners” and add your user as the owner.
6. Go back to the Integration Assistant.
Now you can see there are 2 tasks remaining.
7. Configure a Valid Credential
Click on “Certificates and secrets”. Create a new Client secret.
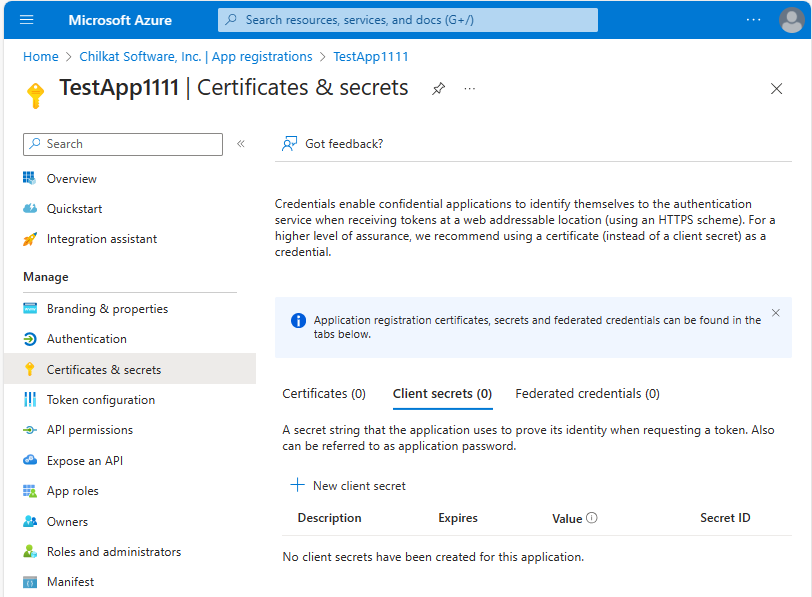
Click on “+ New client secret”
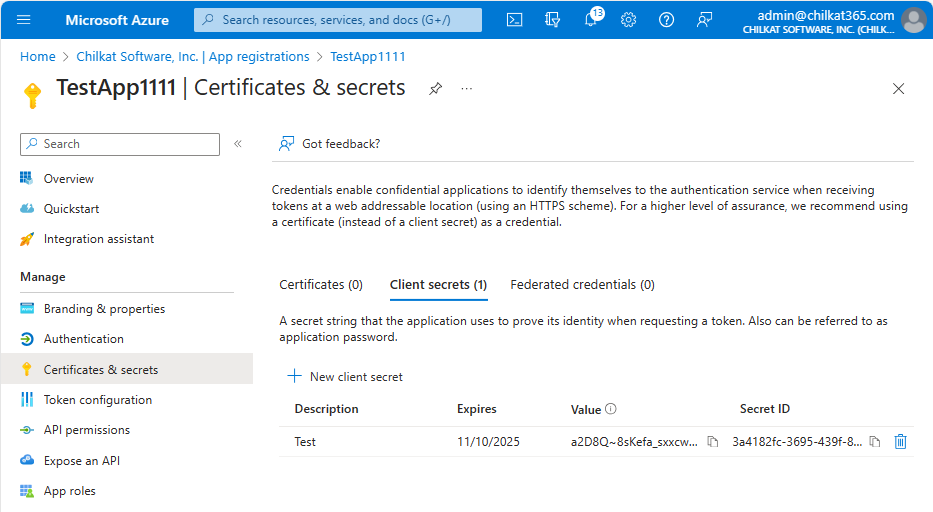
Copy the Value and Secret ID of the client secret. You need to copy it here. It will no longer be available after leaving this screen.
You’ll need the client secret Value in your program. (I don’t think the Secret ID is actually needed but copy it just in case.)
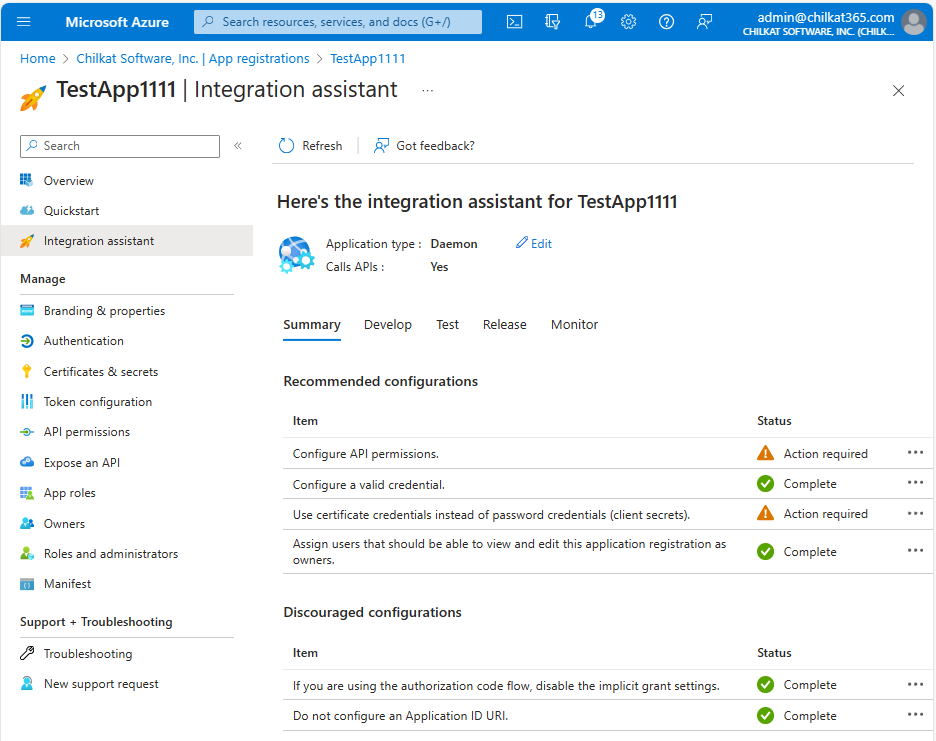
8. Go back to the Integration Assistant.
Azure would prefer you use certificate credentials, but it is not actually required. You can use the shared secret credential that was just created.
The remaining step is to configure API permissions.
9. Add API Permissions
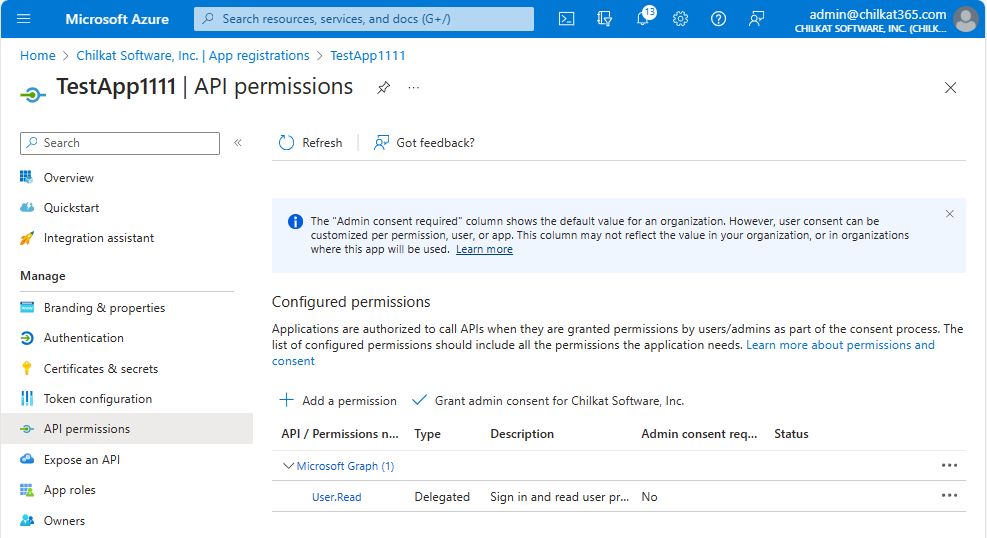
Click on “API Permissions”.
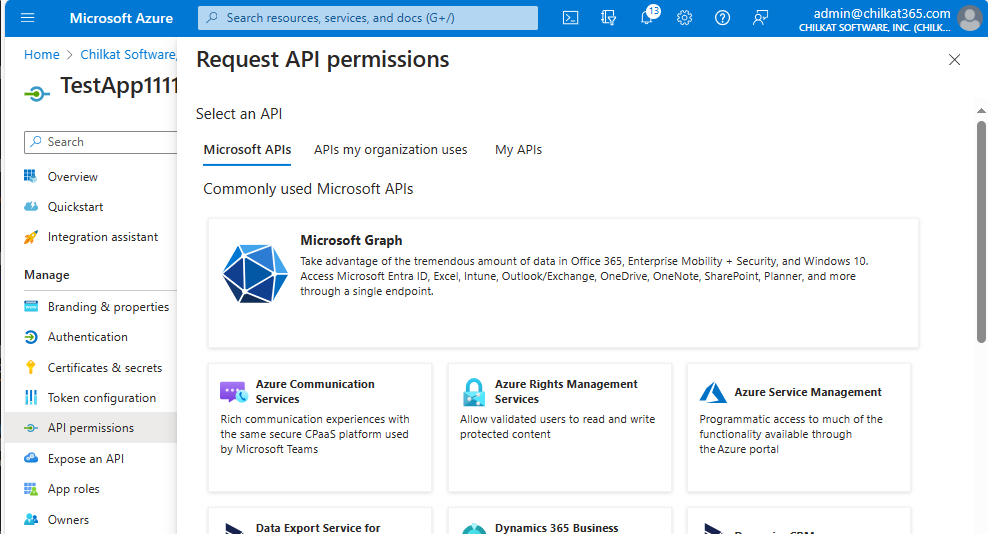
Click on “+ Add a permission”. Then click on “Microsoft Graph”
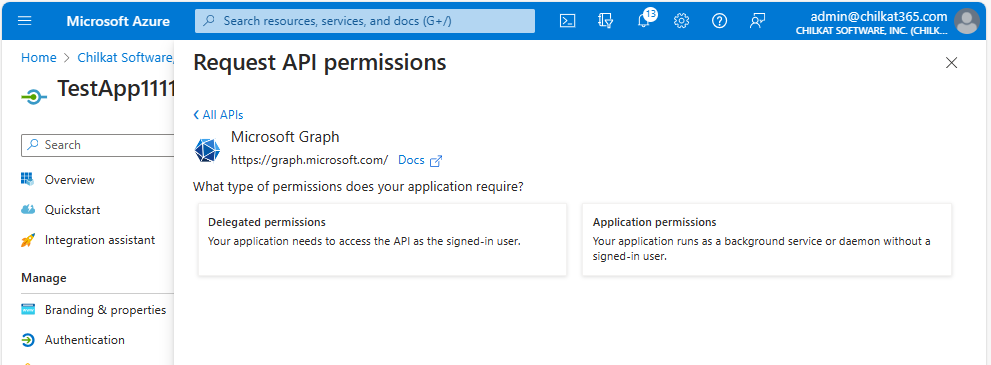
Click on “Application permissions”
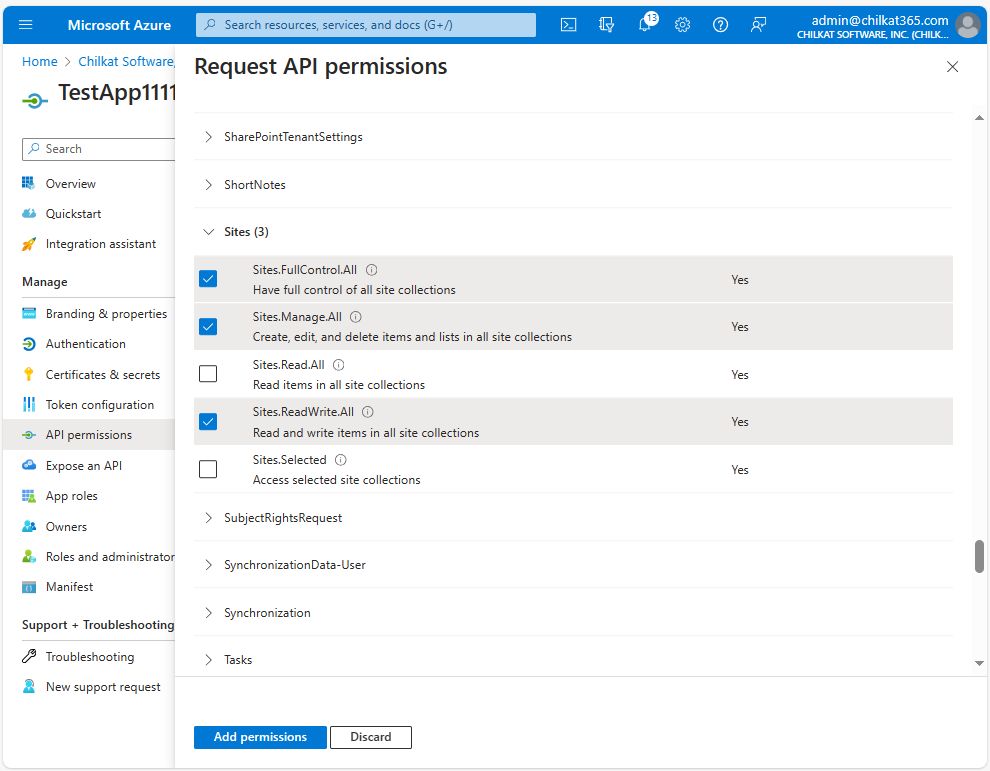
Select the Permissions you’ll Need.
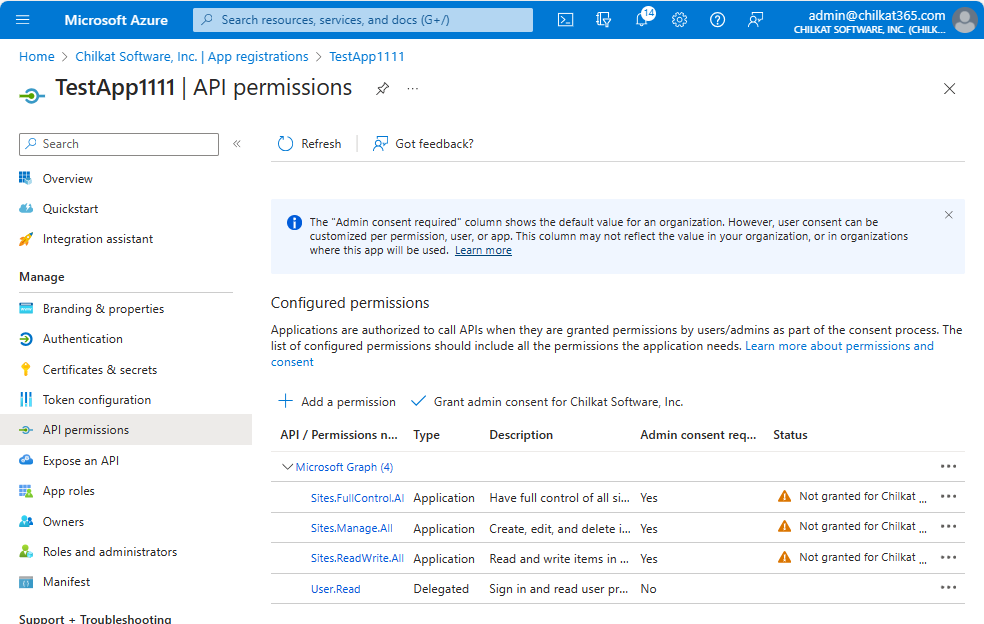
For example, to provide permissions for SharePoint Online, click on the needed “Sites” permissions. Then click “Add permissions”.
Important: You will need to add the necessary API permissions based on what your application wishes to do. For example, if needing to create an Online meeting for MS Teams, you’ll need to add the OnlineMeetings.ReadWrite.All permission. The Microsoft REST API online documentation tells you what Permissions are needed. For example, see https://learn.microsoft.com/en-us/graph/api/application-post-onlinemeetings?view=graph-rest-1.0&tabs=http
10. Grant Admin Consent for the permissions you just added.
You’re not yet done with permissions. Grant admin consent by clicking on the ![]() …
…
After clicking on “Grand admin consent for …” your API permissions should look like this:
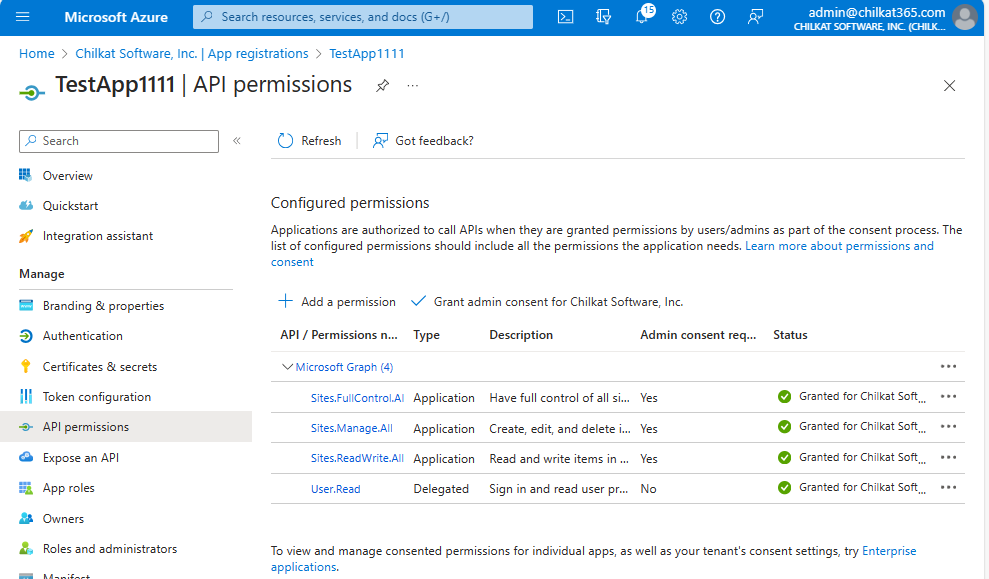
11. OK, Finished.
Your App Registration should now be setup to allow for the OAuth2.0 client credentials grant type, for the API Permissions you have configured.
In your application source code, the three key pieces of information you’ll need are the tenant ID, client ID, and client secret value.